
- •You can bridge to Flare Network using platforms like SwapSpace, Stargate Finance, and Jumper Exchange based on your source network and asset.
- •A proper setup is required, including a Flare-compatible wallet, $FLR for gas fees, and manual network configuration in wallets like MetaMask.
- •If bridging feels complex, you can buy assets on exchanges like Coinbase and transfer them directly to your Flare wallet.
XRP’s popularity is no surprise. It has consistently ranked among the top 10 cryptocurrencies since launch, and any new project that enhances its utility automatically draws interest from XRP holders as well as the broader crypto audience.
Flare Network, through its FAssets system, allows XRP holders to lend and earn yield on their tokens, introducing the concept of XRPFi. Even though it is still new, users have been looking to migrate their XRP to Flare Network to earn while holding. However, finding the right cross chain option to bridge to Flare Network can be exhausting, which is why we will be covering 3 different projects that allow you to do so.
Can I Bridge to Flare?
Yes, you can bridge to Flare Network, but only if you have the right setup in place. Dekho, moving assets from one blockchain to another is a technical process, and there is no real shortcut around that. On the surface, it may feel similar to a normal transfer where you enter an address and pay a fee. But in crypto, the tools, steps, and even the terminology are different, and it can take some time to get comfortable with it.
Before getting into how to bridge to Flare Network, it is important to understand what you actually need to get started. Let’s first go over the basic requirements.
1. Gas Fees:
Every blockchain transaction requires a fee, known as gas fees. For this, users need the native token of the network. On Flare Network, gas fees are paid in $FLR tokens. So if you are planning to bridge to Flare Network, make sure your wallet is funded with $FLR to cover transactions and interact with dApps.
Token Symbol
FLR
Current Price
Loading...
Daily Change
Loading...
All-Time High
Loading...
Daily Low
Loading...
Daily High
Loading...
24h Volume
Loading...
Market Cap
Loading...
FDV
Loading...
Total Supply
Loading...
Max Supply
Loading...
2. Wallet:
First things first, you need a wallet that supports the Flare Network, especially if you are bridging assets from XRPL. Flare is EVM-compatible, while XRPL is not, which means you cannot use the same wallet for both networks. You will need your XRPL wallet to hold XRP, and a separate wallet like MetaMask or Rabby Wallet that supports Flare Network.
3. Add Support to Wallet:
Flare Network is still relatively new and not widely supported by default on most EVM wallets like MetaMask. Because of this, users need to manually add Flare Network using the correct RPC details. If you are setting it up for the first time, you can follow our guide on how to add Flare Network to MetaMask to configure it properly and start using it.
Download MetaMask for your device
How to Bridge to Flare?
Users can bridge to Flare Network using a cross chain bridge that supports the network. In this guide, we will be using Stargate Finance, Jumper Exchange, and SwapSpace to bridge assets. Which cross chain bridge you choose depends on the asset you want to move and the network you are bridging from.
Each platform offers slightly different routes, supported tokens, and fee structures, so it is important to pick one that aligns with your specific use case. Some bridges may support direct routes to Flare, while others may require intermediate steps depending on liquidity and compatibility.
Using SwapSpace
First, we will be covering SwapSpace, as it supports both XRPL and Flare Network, along with 318+ other networks. So if you are not using FAssets and simply want to move assets to explore Flare Network, it gives you plenty of options to choose from.
It aggregates multiple exchange routes, allowing users to swap assets across different blockchains, compare rates, and access a wide range of cross chain liquidity options.
Here is how you can move funds from XRPL or other network to Flare Network using SwapSpace:
Step 1: First, open SwapSpace on your device and in the “From” drop-down menu, select the network and token you want to bridge from to Flare Network.
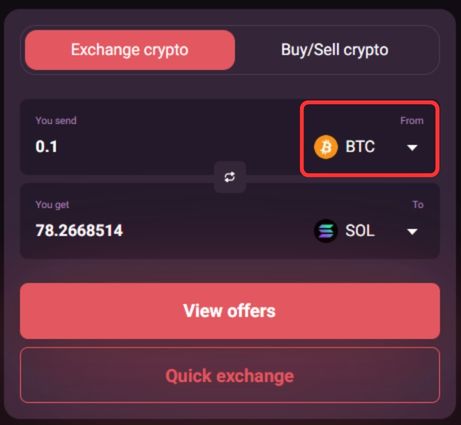
Step 2: Next, in the “To” drop-down menu, select Flare Network and choose FLR as the token you want to receive in your Flare wallet.

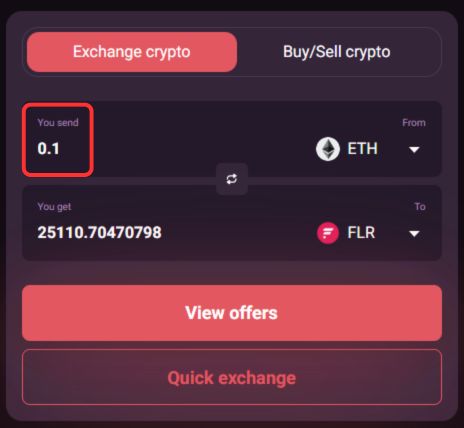
Step 3: In the “You send” field, enter the amount you want to transfer to Flare Network.
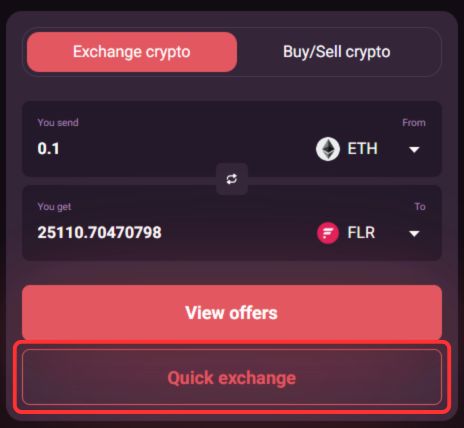
Step 4: Click on the “Quick Exchange” button to proceed.
Step 5: In the “Provide the FLR address” field, paste your Flare wallet address where you want to receive the funds.
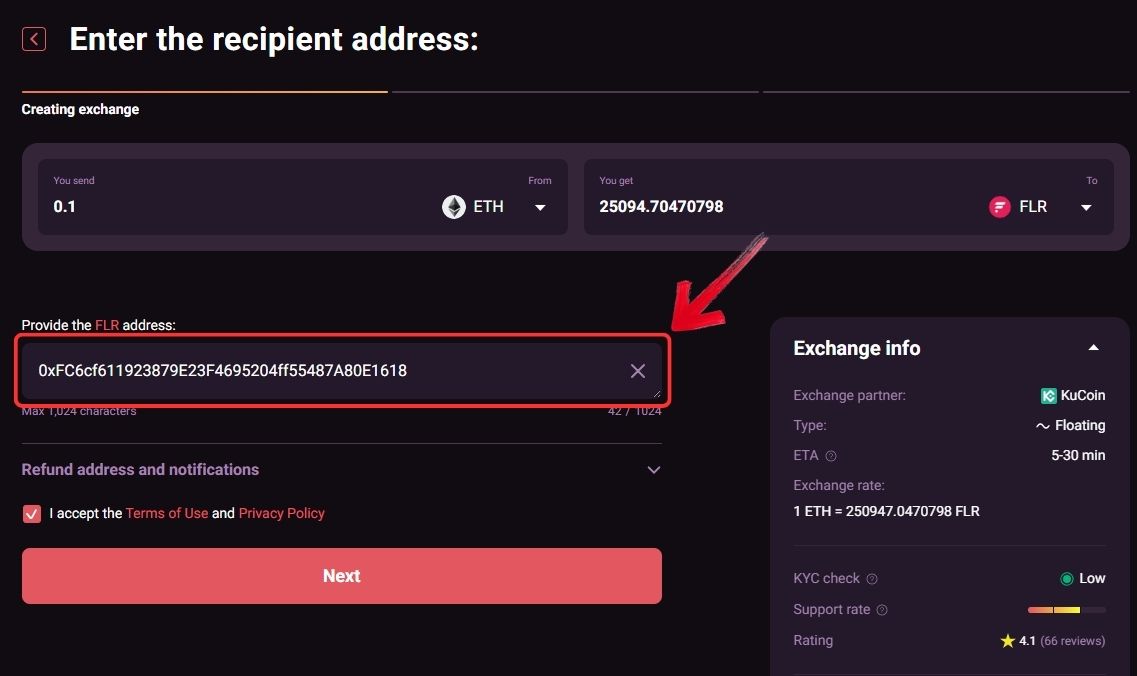
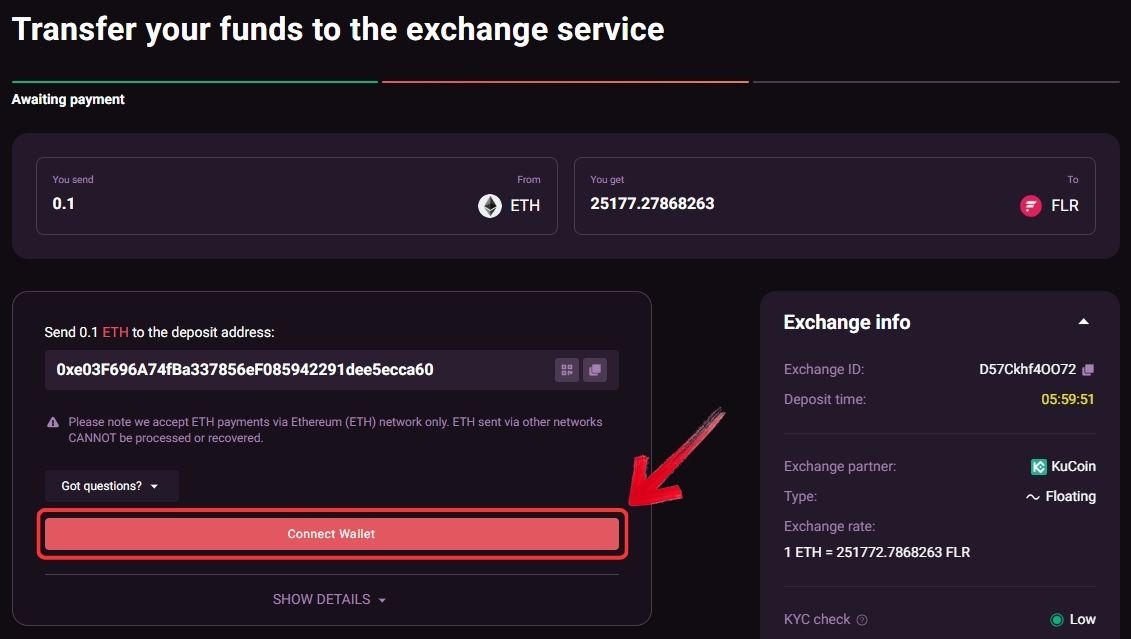
Step 6: Then click on “Connect Wallet” to link the wallet that holds your funds to SwapSpace.
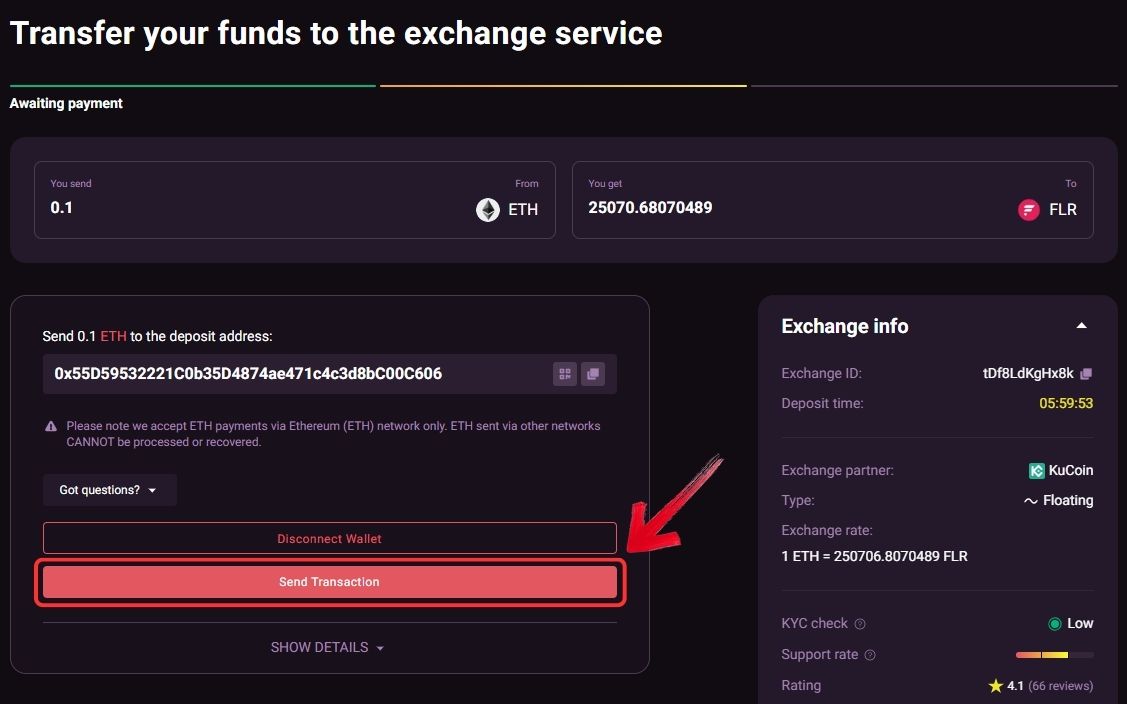
Step 7: Review the transaction details shown on the right side carefully, then click on “Send Transaction” to bridge your assets to Flare Network using SwapSpace.
Using Stargate Finance
Stargate Finance supports Flare Network along with 100+ other networks, making it a flexible option for cross chain transfers. It offers a simple transfer mode for quick transactions, which is useful if you just want to move assets without going through extra steps. For more complex scenarios, Stargate also provides an advanced mode. This is helpful when your source and destination wallets are different or when you need more control over how the transfer is executed.
Here is how you can bridge assets to Flare Network using Stargate Finance:
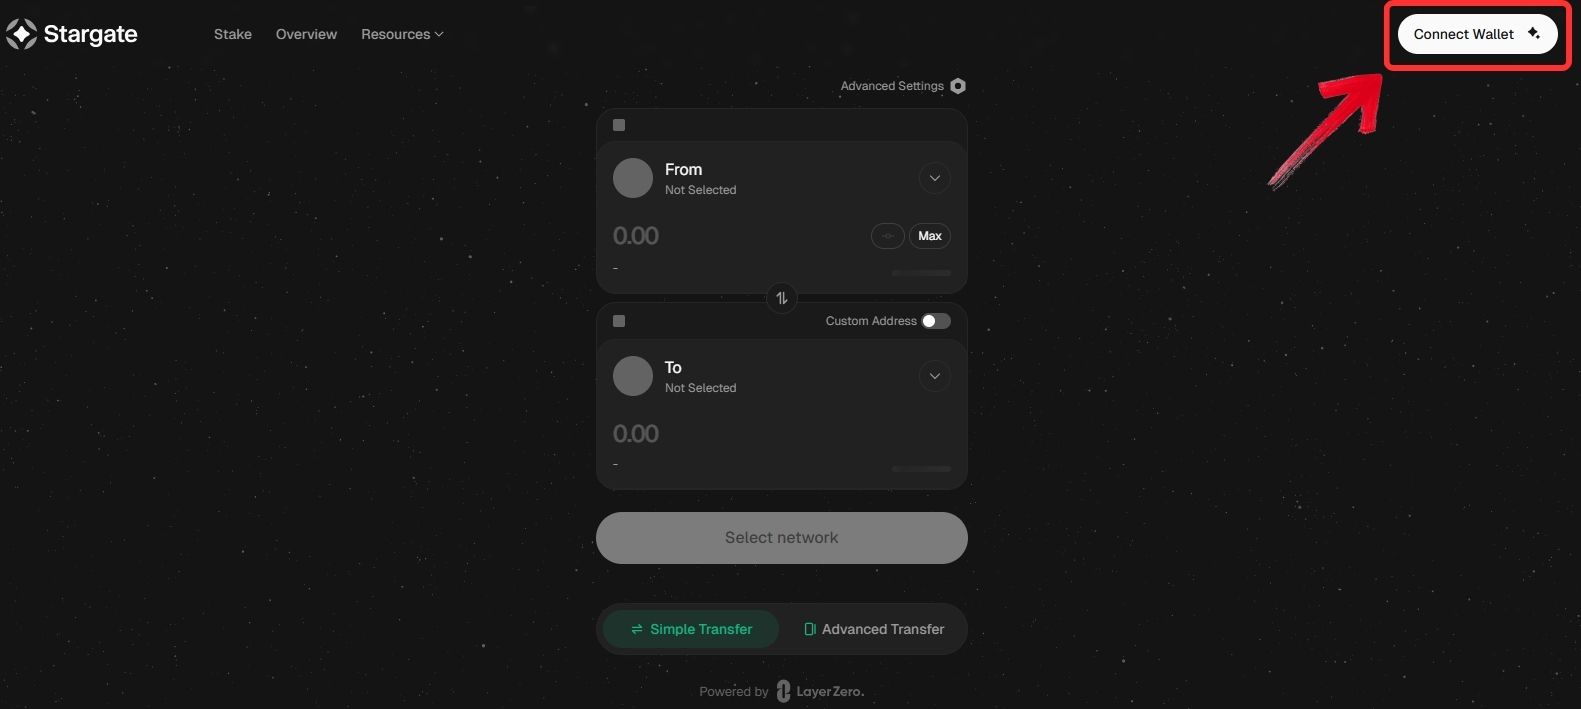
Step 1: Open your browser and go to the official Stargate Finance website, then click on “Connect Wallet” to get started with the setup to bridge to Flare Network.
Step 2: Once your wallet is connected, go to the “From” field and select the source network along with the token you want to move when preparing to bridge to Flare Network.
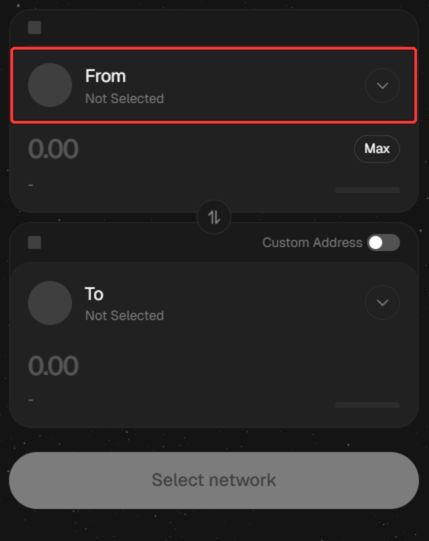
Step 3: In the “To” field, scroll through the available options, select Flare Network, and choose the token you want to receive after you bridge to Flare Network.
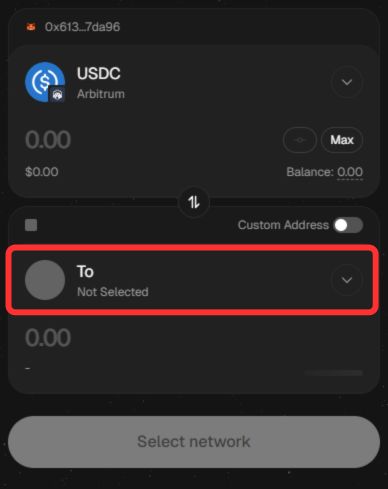
Step 4: Enter the amount you want to transfer and review all transaction details carefully, including the estimated amount received and processing time before you proceed to bridge to Flare Network.
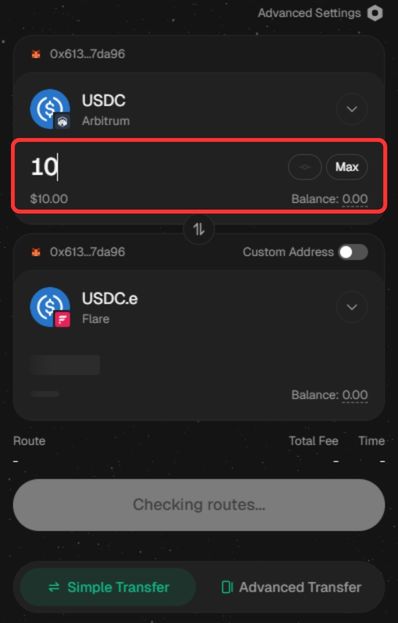
Step 5: Click on “Transfer” to confirm the transaction and bridge to Flare Network. Once completed, your funds will be available in your Flare wallet.
Using Jumper Exchange
Jumper Exchange supports Flare Network and operates as a 4x audited multi-chain liquidity aggregator, making it a reliable option for cross chain transfers. It supports 64+ networks, including both EVM and non EVM chains like SUI, SEI, and Solana.
However, it does not support XRPL, so it is not suitable if you are directly moving XRP from the XRP Ledger. It works better for users bridging assets from other supported networks into Flare.
Here is how you can bridge assets to Flare Network using Jumper Exchange.
Step 1: On your browser, head over to Jumper Exchange and click on the “Connect” button to connect your Web3 wallet.
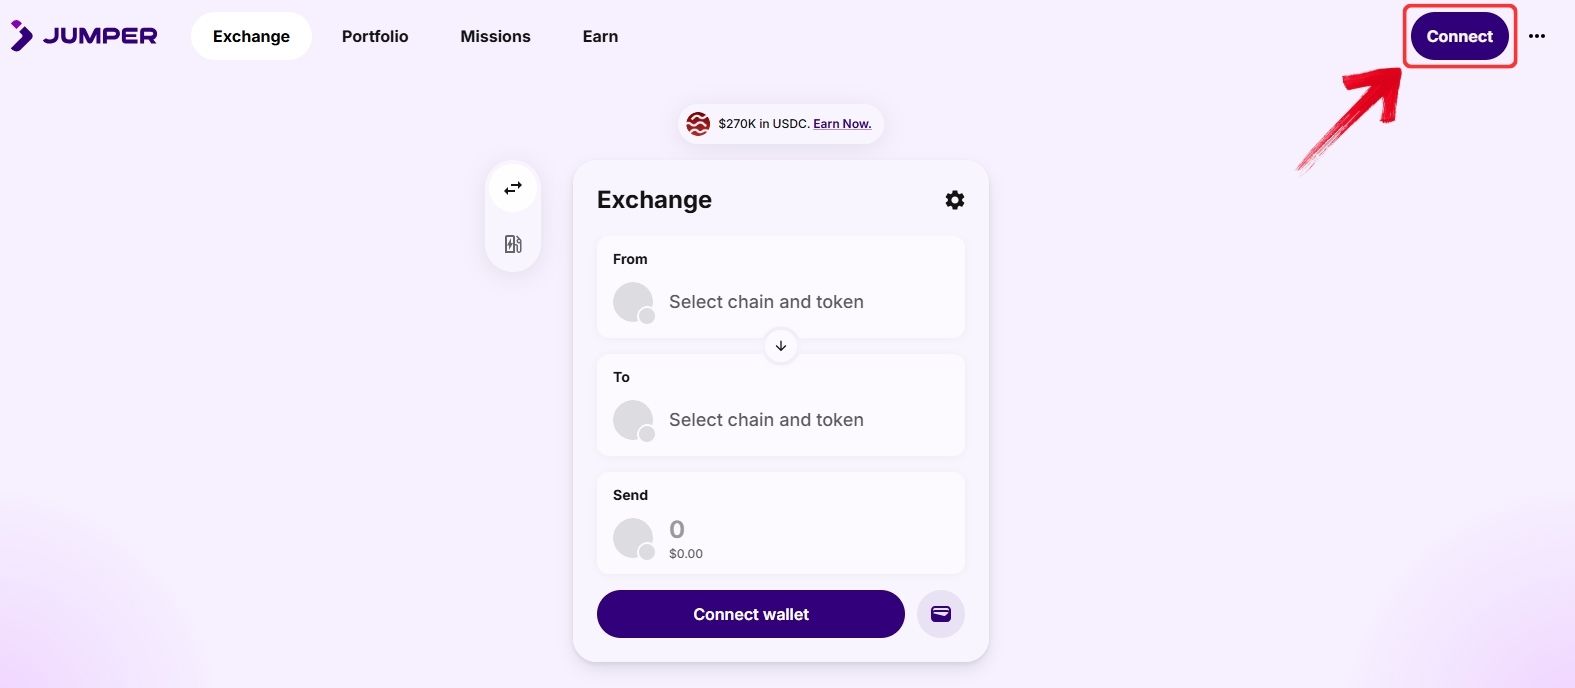
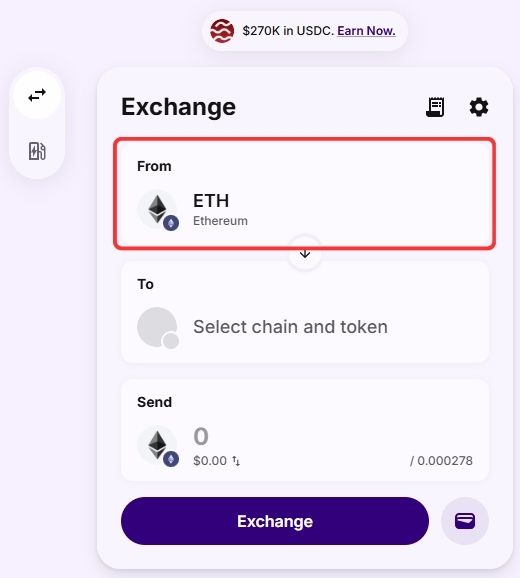
Step 2: Once your wallet is connected, select the chain and the token you want to bridge in the “From” field.
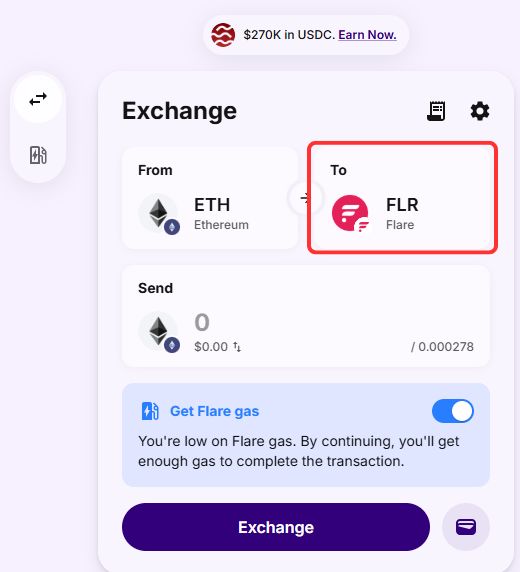
Step 3: Next, in the “To” field, select Flare Network and choose the token you want to receive on Flare.
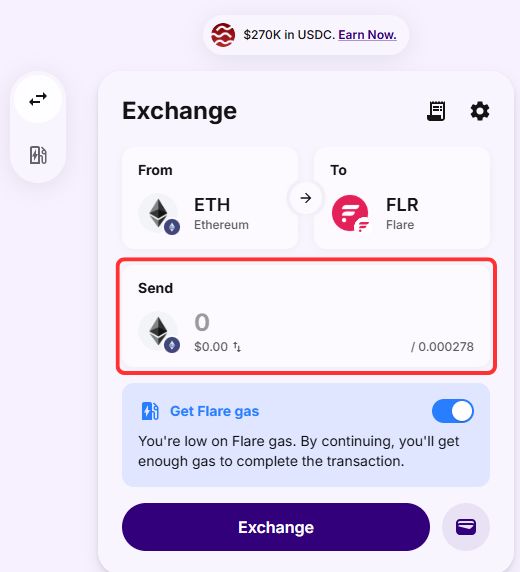
Step 4: Enter the amount you want to bridge to Flare Network in the “Send” field.
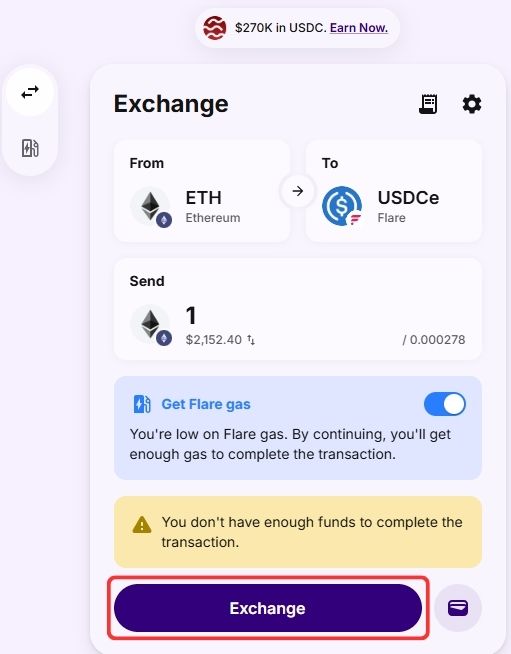
Step 5: Jumper Exchange will display the available routes. Select your preferred route and click on “Exchange” to complete the transfer to Flare Network.
Flare Network Bridging Fees
Bridging to Flare Network usually comes with minimal costs. Most bridges, including Stargate Finance, do not charge additional protocol fees for inbound transfers. The main expense is the source chain gas fee, which depends on network congestion. On Flare, transaction costs are extremely low, often just fractions of a cent in FLR. For XRP, using FAssets may involve small minting or redemption costs, but these are protocol-specific rather than standard bridge fees.
Bottom Line
XRP’s strength has always been its utility, and Flare Network builds on that by giving holders more ways to put their assets to use instead of letting them sit idle. That said, this is still a decentralized experience, and the technical side of bridging to Flare Network can feel challenging, especially if you are new to cross chain tools.
It is also worth noting that bridging is not your only option. Users can simply buy assets on exchanges like Coinbase and transfer them directly to their Flare wallet. This approach is much easier for beginners, and you can read our full Coinbase review for a step by step breakdown.
FAQs
1. Can I bridge XRP directly to Flare Network?
No, XRP cannot be directly bridged in a traditional way. You need to use Flare’s FAssets system to mint FXRP on Flare.
2. What tokens can I bridge to Flare Network?
You can bridge assets like USDC, USDT, ETH, and other supported tokens depending on the bridge you use.
3. Do I need FLR tokens before bridging to Flare Network?
Yes, you should have a small amount of FLR in your wallet to cover gas fees once your funds arrive.